Planting Instructions
Welcome to the beginning of your very own forever forest!
Every towering spruce tree came from a tiny seed, just like the ones in your Project Forest Seed Kit.
Included in your White Spruce Seed Kit:
- 1 paper envelope containing 4 white spruce (Picea glauca) seeds
- 1 dehydrated peat pellet
- 1 biodegradable peat pot
Breaking Seed Dormancy (Stratification):
We’re going to simulate natural germination conditions for our spruce seeds: the cold, wet spring.
- Soak the seeds in water at room temperature for 24 hours.
- Place them on a wet paper towel inside a plastic bag and store them in your fridge for 21 days. It is important to pay attention to potential mould development. You can protect your seeds against mould by changing the moist paper towel regularly.
Hydrate Your Peat Pellet
After stratification, the 21 days your seeds spent in the fridge, it’s time to prepare your growing materials.
- Place your peat pellet in a dish deep enough to allow it to be submerged in water.
- Pour warm water over top of your pellet so that it is submerged.
- The peat pellet will take about 10 minutes to fully expand, though it may take a bit longer depending on the temperature of the water. Add more water if needed.
- After expansion, place your peat pellet into the peat pot provided.
- Once placed in the pot, tear the mesh wrapping at the top slightly to create a larger opening. You may need to squeeze the peat pellet to encourage full expansion.
Planting Your Spruce Seeds
- Use a pencil, toothpick or your baby finger to dig four wells in the peat pellet where your seeds will be planted.
- Place each seed in a well and lightly cover it with the peat in the pellet.
- Place the pot in a warm and sunny place, like on a window sill.
- Make sure the peat stays moist; not too much or too little water.
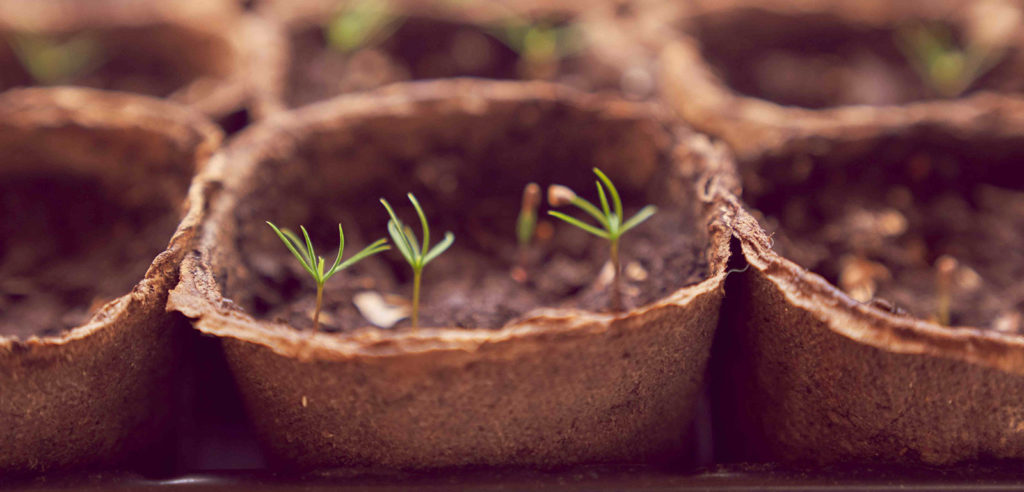
Spruce Seedlings
- Once the seedlings have sprouted and are 8-9 cm tall, you can transplant the seedling(s) in the peat pot into a larger pot to create more soil volume. If you have more than one seedling, separate them to ensure enough room for them to grow. The additional soil volume (add potting soil) will ensure that the plants stay moist.
- Seedlings are ready to be transplanted outdoors in the spring when the risk of frost is over (after May long weekend in Alberta). Alternatively, you can keep growing your seedling in a larger pot and transplant it in September.
Share Your Seedling Journey With Us!
We would love to see your growing journey in action. Include the #MyProjectForestSeedling hashtag and tag Project Forest when posting your planting pics on social media.